When it comes to wooden boats, a big concern among builders and boat owners alike is maintaining the integrity of the wood against the relentless forces of water. It’s no secret that water can wreak havoc on wooden structures, leading to issues such as rotting and weakening over time. This article delves into the meticulous process builders engage in to ensure that wooden boats are effectively waterproofed, exploring the necessary materials, techniques, and best practices involved. With the right approach, boat lovers can keep their cherished vessels looking great and sailing strong for years to come.
As the demand for wood as a primary material in boat construction continues, understanding the importance of waterproofing becomes imperative. Many builders have attested that typically, once the wood becomes waterlogged, it is just a matter of time before it succumbs to weakness and potential irreparable damage. This brings us to the essential steps necessary for ensuring proper waterproofing. Whether you’re refurbishing a vintage wooden boat or beginning a new build, knowing how to seal wood properly will save you headaches and resources in the long run.
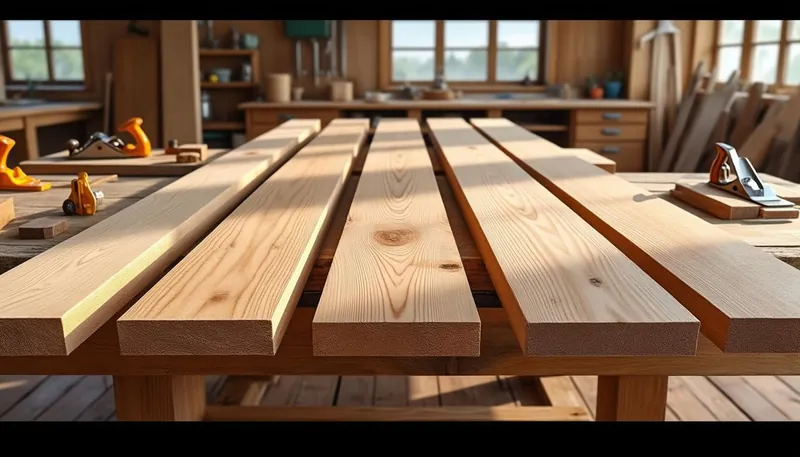
Preparing the Wood for Waterproofing
Preparation is key when it comes to waterproofing wood for boats. Gathering the right materials and tools is an essential first step. Here’s a handy checklist to help you get started:
- Acetone
- Brush or foam brush
- Clean cloth
- Container for epoxy
- Marine epoxy
- Hairdryer or heat gun
- Paint stick
- Pockets of sandpaper
- Tack cloth
- Tarp
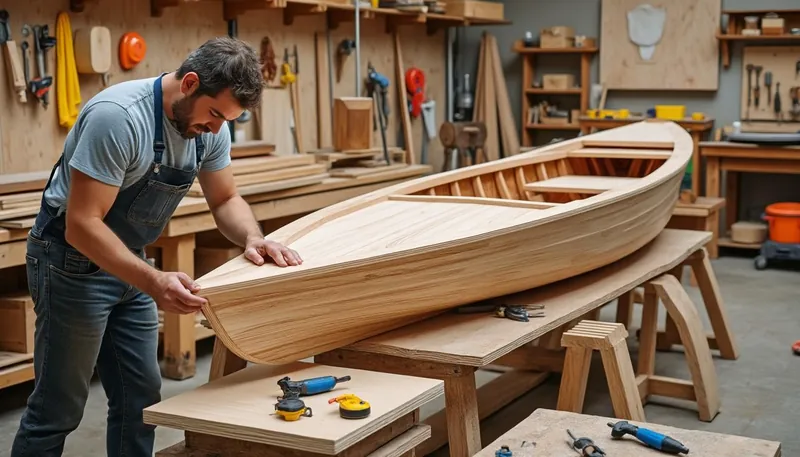
With your essentials lined up, you can smoothly transition into the next step. The wood surface needs to be immaculate to ensure the best waterproof bonding. It’s crucial to rid the wood of any contaminants such as oil, grease, or wax. An easy way to do this is to use a clean rag dampened with acetone. But, be mindful when working with acetone – make sure you have proper ventilation and personal protective equipment like gloves and a mask.
After thoroughly cleaning, let’s look at some techniques to help ensure the wood is completely dry before applying the epoxy. Using fans or heat lamps can assist in speeding up the drying time. External factors like moisture and condensation could interfere with the curing process, so keeping an eye on the weather is essential.
The Right Approach in Waterproofing
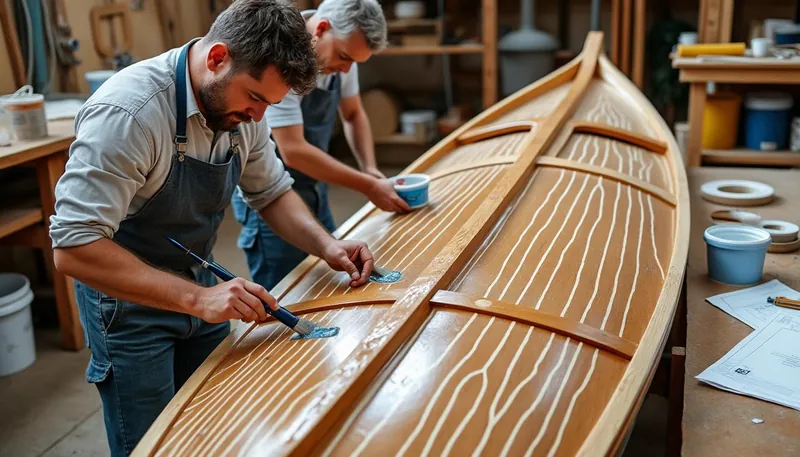
Once your wood is ready, it’s time to apply the waterproofing coat. This involves carefully mixing epoxy resin and hardener, which can typically come from trusted suppliers like Pro Marine or TotalBoat. The ratio often varies, so follow the producer’s instructions closely. It usually takes around 16 to 20 hours for the epoxy to dry, but remember, the more coats you apply, the longer it may take to fully cure.
Initially, use the paintbrush to apply a thin layer of mixed epoxy, ensuring you cover every nook and cranny. A thorough approach in this phase is vital for successful waterproofing. If you happened to have any runs or uneven areas, you can fix that by lightly sanding before applying additional coats. Sanding the surface can also eliminate any shiny spots that could obstruct further bonding.
| Step | Description |
|---|---|
| Step 1 | Gather all relevant materials and tools. |
| Step 2 | Clean the wood with acetone to remove contaminants. |
| Step 3 | Dry the wood to ensure adhesion. |
| Step 4 | Mix epoxy and apply it carefully. |
| Step 5 | Allow adequate time for curing between layers. |
Layering for Enhanced Protection
Applying multiple layers of epoxy is critical for ensuring robust waterproof protection. When dealing with porous wood, a single layer might not suffice, as it will quickly absorb the epoxy, defeating its purpose. A common approach involves applying at least four to five layers, especially for excess absorption scenarios.
Once the initial layer has dried, sanding becomes essential again. Use a lighter grit sandpaper this time, as excessive sanding might remove too much epoxy. Keep your workspace clean and free of dust to prevent contamination. This attention to detail during multiple layering can profoundly affect the long-term durability of the waterproof seal.
Another tip is to ensure that in between layers of epoxy, a light sanding occurs. This not only helps with layer adhesion but also provides a better surface for the next application. Finally, once you’ve achieved the desired thickness, allow the epoxy to cure for an extended period in a dust-free environment. Sunlight exposure can negatively affect the epoxy’s effectiveness, so pick a shaded area for the curing process.
Choosing the Right Sealants
When you think about the best sealants, the vast options available can get overwhelming. However, understanding the nuances of high-quality sealants, such as those provided by Epifanes or Interlux, can steer you toward the best choice. Look for a sealer that creates a watertight and airtight bond according to your specific needs.
Consider opting for a sealant that features silicone, polyurethane, or polysulfide components. Each has unique attributes; for instance, sealants with silicone are more suited for non-similar materials while polysulfide is versatile for varied surfaces. Always keep the waterproofing needs based on the material and the location of seals, especially if they’re below or above the waterline.
| Sealant Type | Best Use |
|---|---|
| Silicone | Ideal for insulating mixed materials |
| Polyurethane | Best for bonding materials needing separation |
| Polysulfide | Versatile use on various surfaces |
Decorative and Protective Finishing Touches
After all your waterproofing efforts, you’ll want to give your wooden boat a beautiful finish. This might mean applying waterproof paint or a clear coating to enhance both protection and aesthetics. Brands like Pettit Paint or Awlgrip offer exceptional protective coatings designed to withstand the harsh marine environment.
Start by applying a base coat, allowing adequate time for it to dry before applying additional layers. Regularly inspect for any imperfections and be prepared to sand down any runs or uneven areas to get the finish just right. Again, maintaining a clean application surface is crucial to achieving a professional-level finish.
Final Insights into Waterproofing Techniques
Understanding the layers of waterproofing and applying them isn’t just about protecting your wooden boat; it’s also about preserving its value. Ensuring both aesthetic appeal and functional longevity requires patience and attention to detail, as even one off step can lead to significant issues down the line.
Waterproofing is an art and a science, merging skilled craftsmanship with high-quality materials. With preventive measures, thorough preparation, and a hands-on approach to layering, boat owners can enjoy their crafts without worrying about the damaging effects of water. 🛶
What is the best wood for a boat?
Marine plywood is recommended due to its durability and waterproof properties.
How often should I apply waterproofing to my boat?
It’s advisable to check and reapply waterproofing every few years or as soon as you notice signs of wear.
Is epoxy resistant to UV rays?
Most standard epoxies degrade under UV exposure. It’s best to apply UV-resistant paints over epoxy to protect it.
What is the drying time for marine epoxy?
Drying time can range from 16 to 20 hours based on environmental conditions and the number of layers applied.
Can I waterproof old boats effectively?
Yes, with proper cleaning, sanding, and multiple layers of sealant, old wooden boats can be effectively waterproofed.